Quick Start Guide

We’ve built WP Compress to be effortless past set up, for a lifetime of hands free performance.

The Basics

The software is comprised of two parts centralized management portal and a WordPress plugin that you can quickly install on the sites you’d like to optimize!

Login to Portal

The first place to start is by logging in to the management portal.

Add New Website

In the top right of the portal, click ‘Add New Website’ to start the walkthrough.

Select Your Quota

We recommend a shared quota for a personal or trusted website, or you may set a monthly quota for a client’s website based on your care plans.

One-time credits can be added to any quota as overflow credits and all quotas may be changed at anytime after a website is connected!

Install the Plugin

Go to your WordPress Admin Panel and install the plugin, either download the latest version or search for WP Compress in the Add New Plugin section.

If you need additional help installing a new plugin, our friends over at WP Beginner have put together a step-by-step guide.

Enter Your Access Key

Once installed, click get the bar that says Get Started and paste your access key that was created in the management portal.

Your access key is how we’ll communicate with your WordPress website for things like remote management, monthly quotas and statistics.

Select Your Mode

Select your optimization mode, we suggest starting with the Recommended mode an CDN enabled for quick and easy performance!

Congrats, You're All Set!

You’re all set up with real-time optimization, now you’re an expert and should be able to set up your next website in just about 60 seconds!

When you load the page in your browser or on GTmetrix, you should see improved performance. The software is designed to get faster with more website visits, so be sure to re-test 2-3 times to experience the fastest cached speeds!

Advanced Configurations

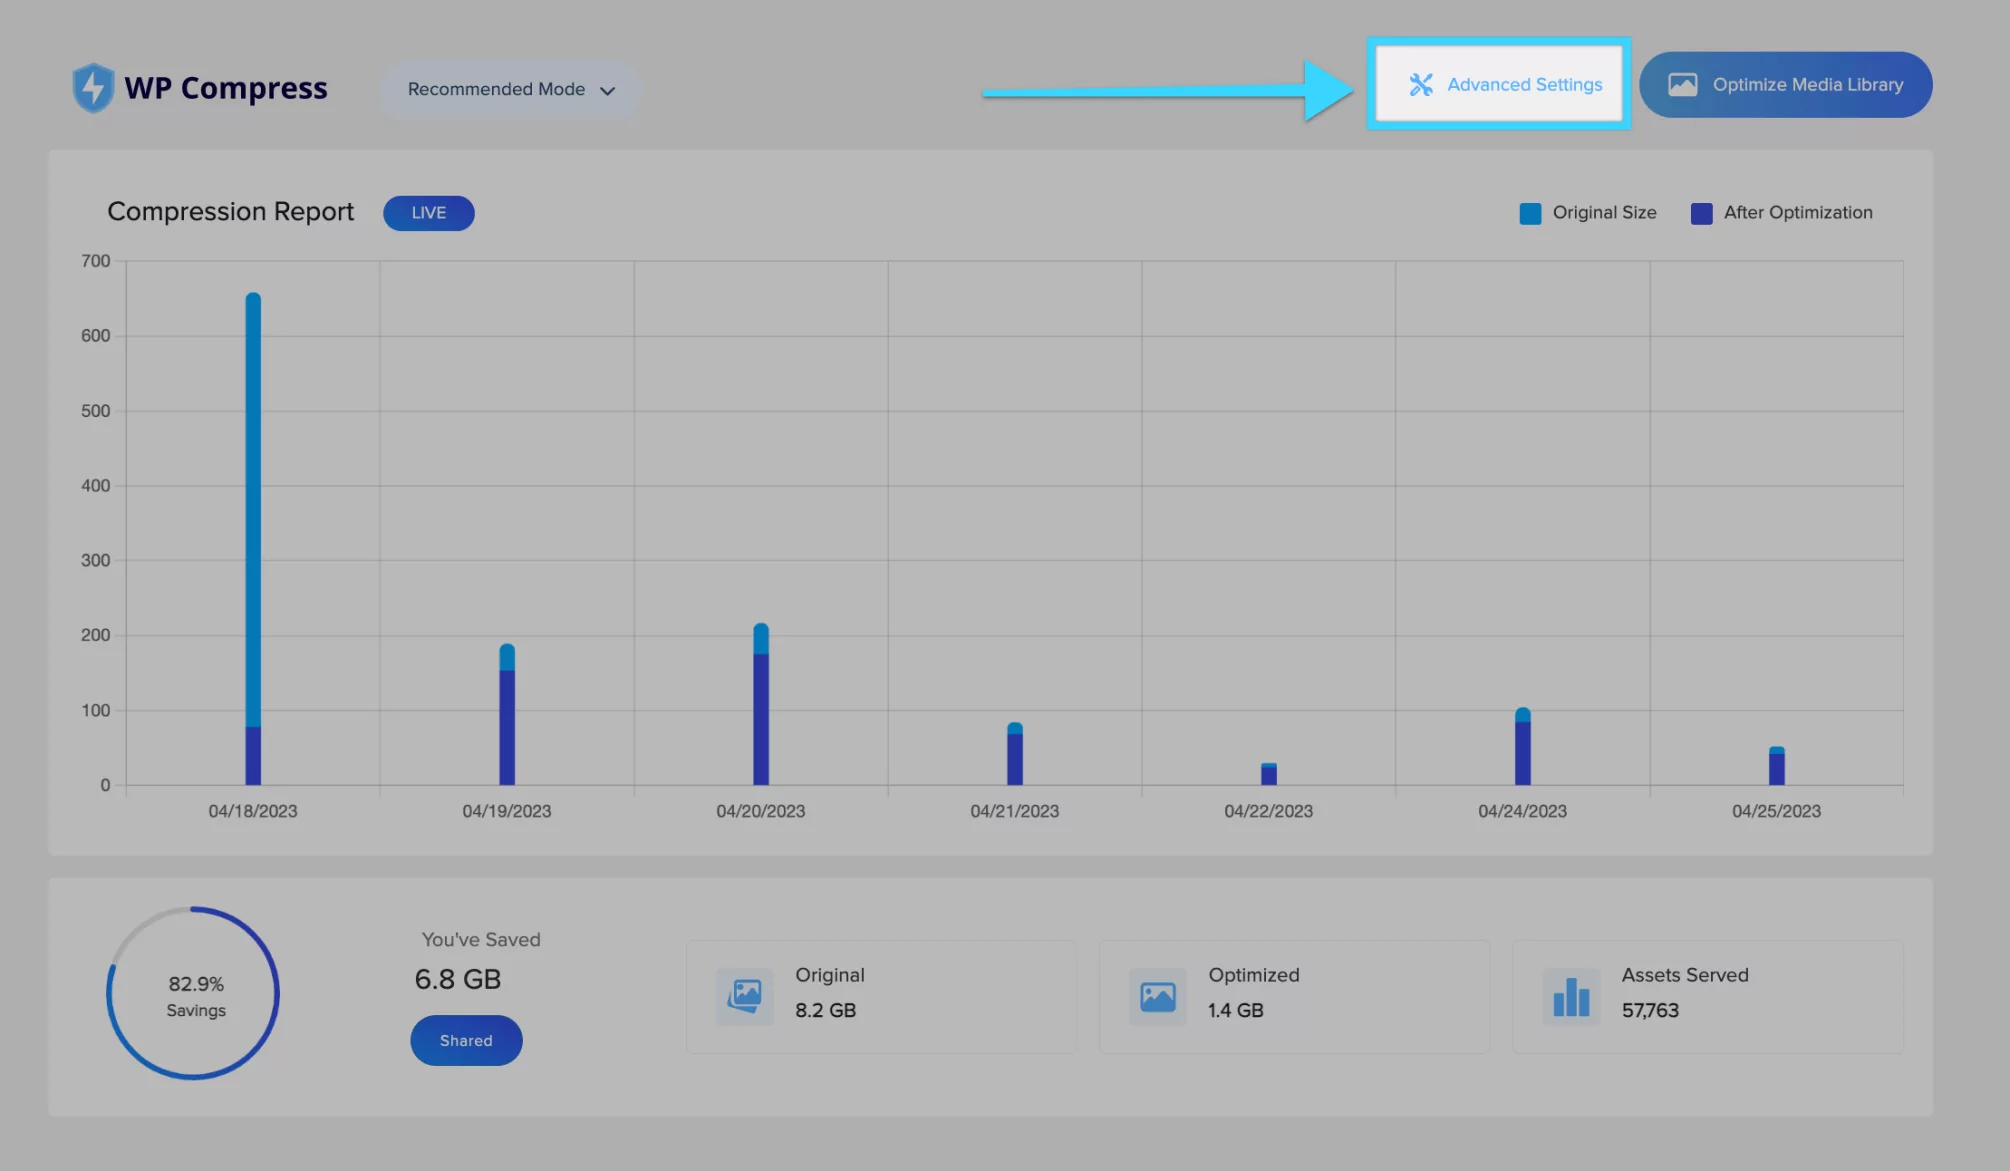
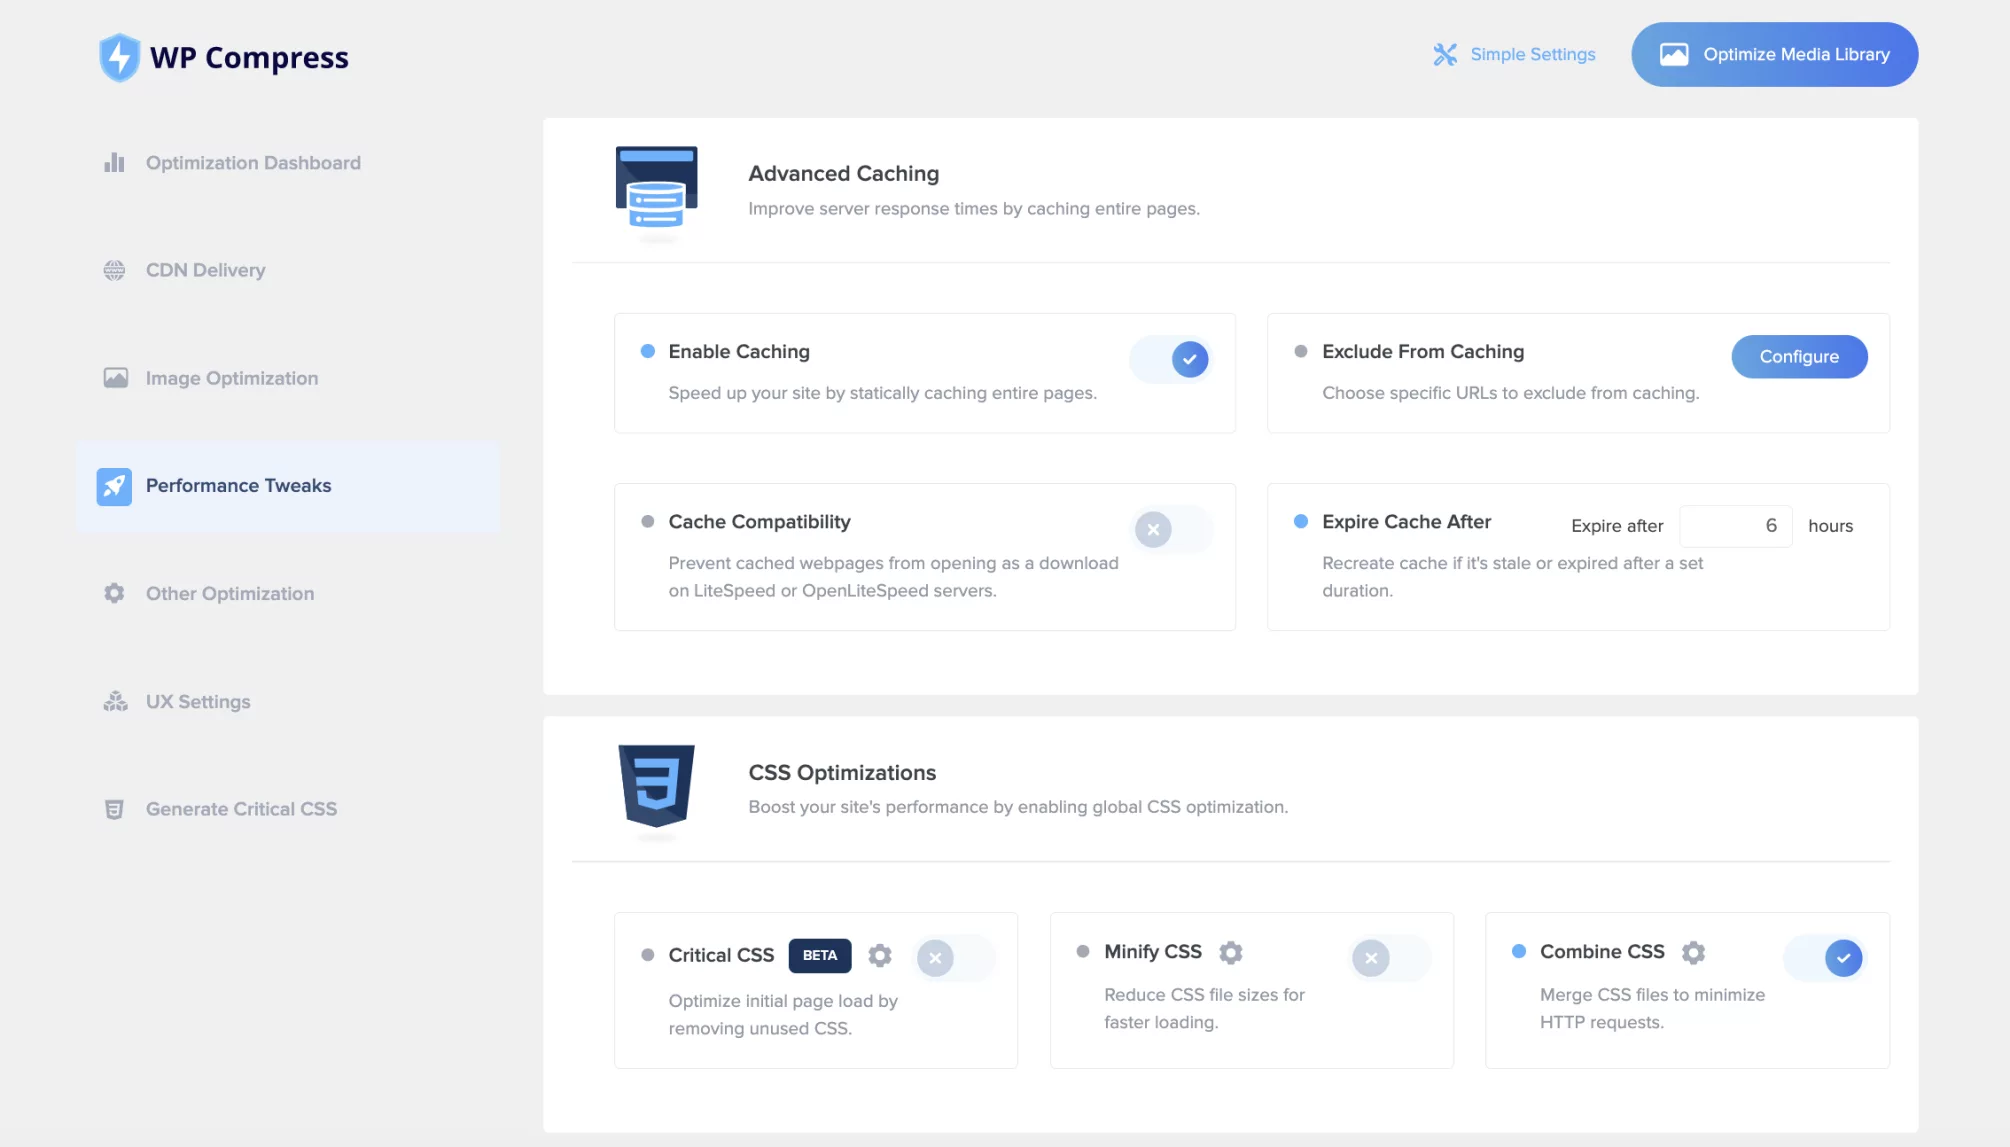
While not required, you may experiment with aggressive mode which includes additional optimizations, or configure other advanced settings. 

If you notice functionality issues in aggressive mode or with the new settings, revert to recommended or safe mode or proceed to advanced configuration and exclude problematic files.

In the advanced configuration, we recommend turning off features one by one in the following order until functionality is restored.

Delay JS 👉 Critical CSS 👉 Combine CSS 👉 CDN CSS + JS 👉 Footer JS 

Alternatively, turn off all features, then enable them one by one to identify the problematic setting. 

Typically, any issues can be resolved by excluding troublesome files from the affected feature by clicking the gear option. If you need assistance, our chat support is always available to help.

Even if you need to leave a feature off, you’ll still experience performance gains from the other optimizations, and your site will continue to improve in speed!

Feel free to play around with the default or advanced settings for real time optimization as any changes can be reverted by toggling off a specific setting or reverting to safe mode at any time.

You can visit our knowledge base to learn more about advanced features such as setting up custom branded email reports, preloading pages, purging the cache and much more!

Need More Help?

Check out additional documentation or chat with us at help.wpcompress.com